Natural Dye Series Post 3: Dyeing Fabric Yardage
Sorry for the delay in getting this post put together. It was not my intention to write this so late in the summer but better late than never! Let’s pick up where we left off. You now have fabric that has been mordanted with tannin and alum. The next and most exciting step is to make a dye bath. In the last post I suggested several different natural dye stuffs (stuffs sounds funny but it’s the correct term!) that you could gather. If you ordered traditional dye stuffs that’s great but they’re usually much stronger than the materials I suggested to gather so you’ll want to use much less. Please refer to the package or website of the supply store for suggested amounts on those.
Your mordanted fabric can be dyed right after the mordanting process, or it can be dried and used later as in this case—thank you for your patience! Mordanted fabric can be successfully stored in a dry dark place for several years. To proceed to dyeing it just needs to be soaked in warm water (wetted out) for about 20 minutes.
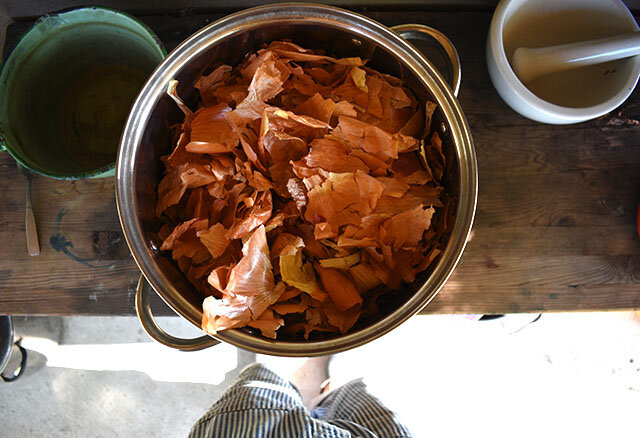
For this tutorial I decided to use yellow onion skins we saved from the onions we grew last year. If using onion skins, save only the papery skins not the meaty parts of the onion. When working with foraged stuffs I l often make strong dye baths and have several yards of mordanted fabric on hand to make an ombré gradient of shades out of each dye pot until the dye is nearly exhausted. To make a strong dye bath fill your dye vessel with your dye material. (Again if you’re working with traditional dye stuffs from a supply store— such as osage orange or madder root etc.—you will definitely not need to use this much material!) You do not need to pack the material down into the vessel simply fill it loosely to the brim. The dye pot I’m using here is a 3 gallon stainless steel pot. This is a nice size vessel for dyeing one yard lengths of fabric at a time. Top off the dye pot with water.
To extract the dye from the plant matter bring the pot to a boil and then turn it down to a low simmer for about an hour. Strain your dye stuffs off reserving the dye liquid. If you’re using leaves, depending on the kind you chose, you will probably have a bright yellow or green dye bath that will yield golden to golden brown colors. Let the dye liquid cool to 120F, then add the wetted out fabric. Bring the temperature to 180F and hold it for an hour stirring often and keeping the fabric completely submerged. The mordanted fabric should take up the color quite quickly. If you’re satisfied with the shade after an hour, remove the fabric. If you want a deeper shade remove from the heat and let it steep submerged in the dye pot overnight.
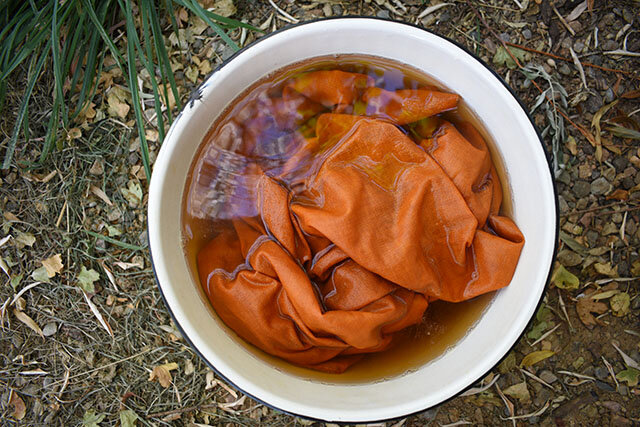
This linen fabric was in the dye pot for an hour to achieve this saturated shade. It got transferred over to the rinse bucket and I have another length of mordanted fabric ready to be transferred to the dye pot.
The rinse bucket.
Rinse twice gently then hang to dry.
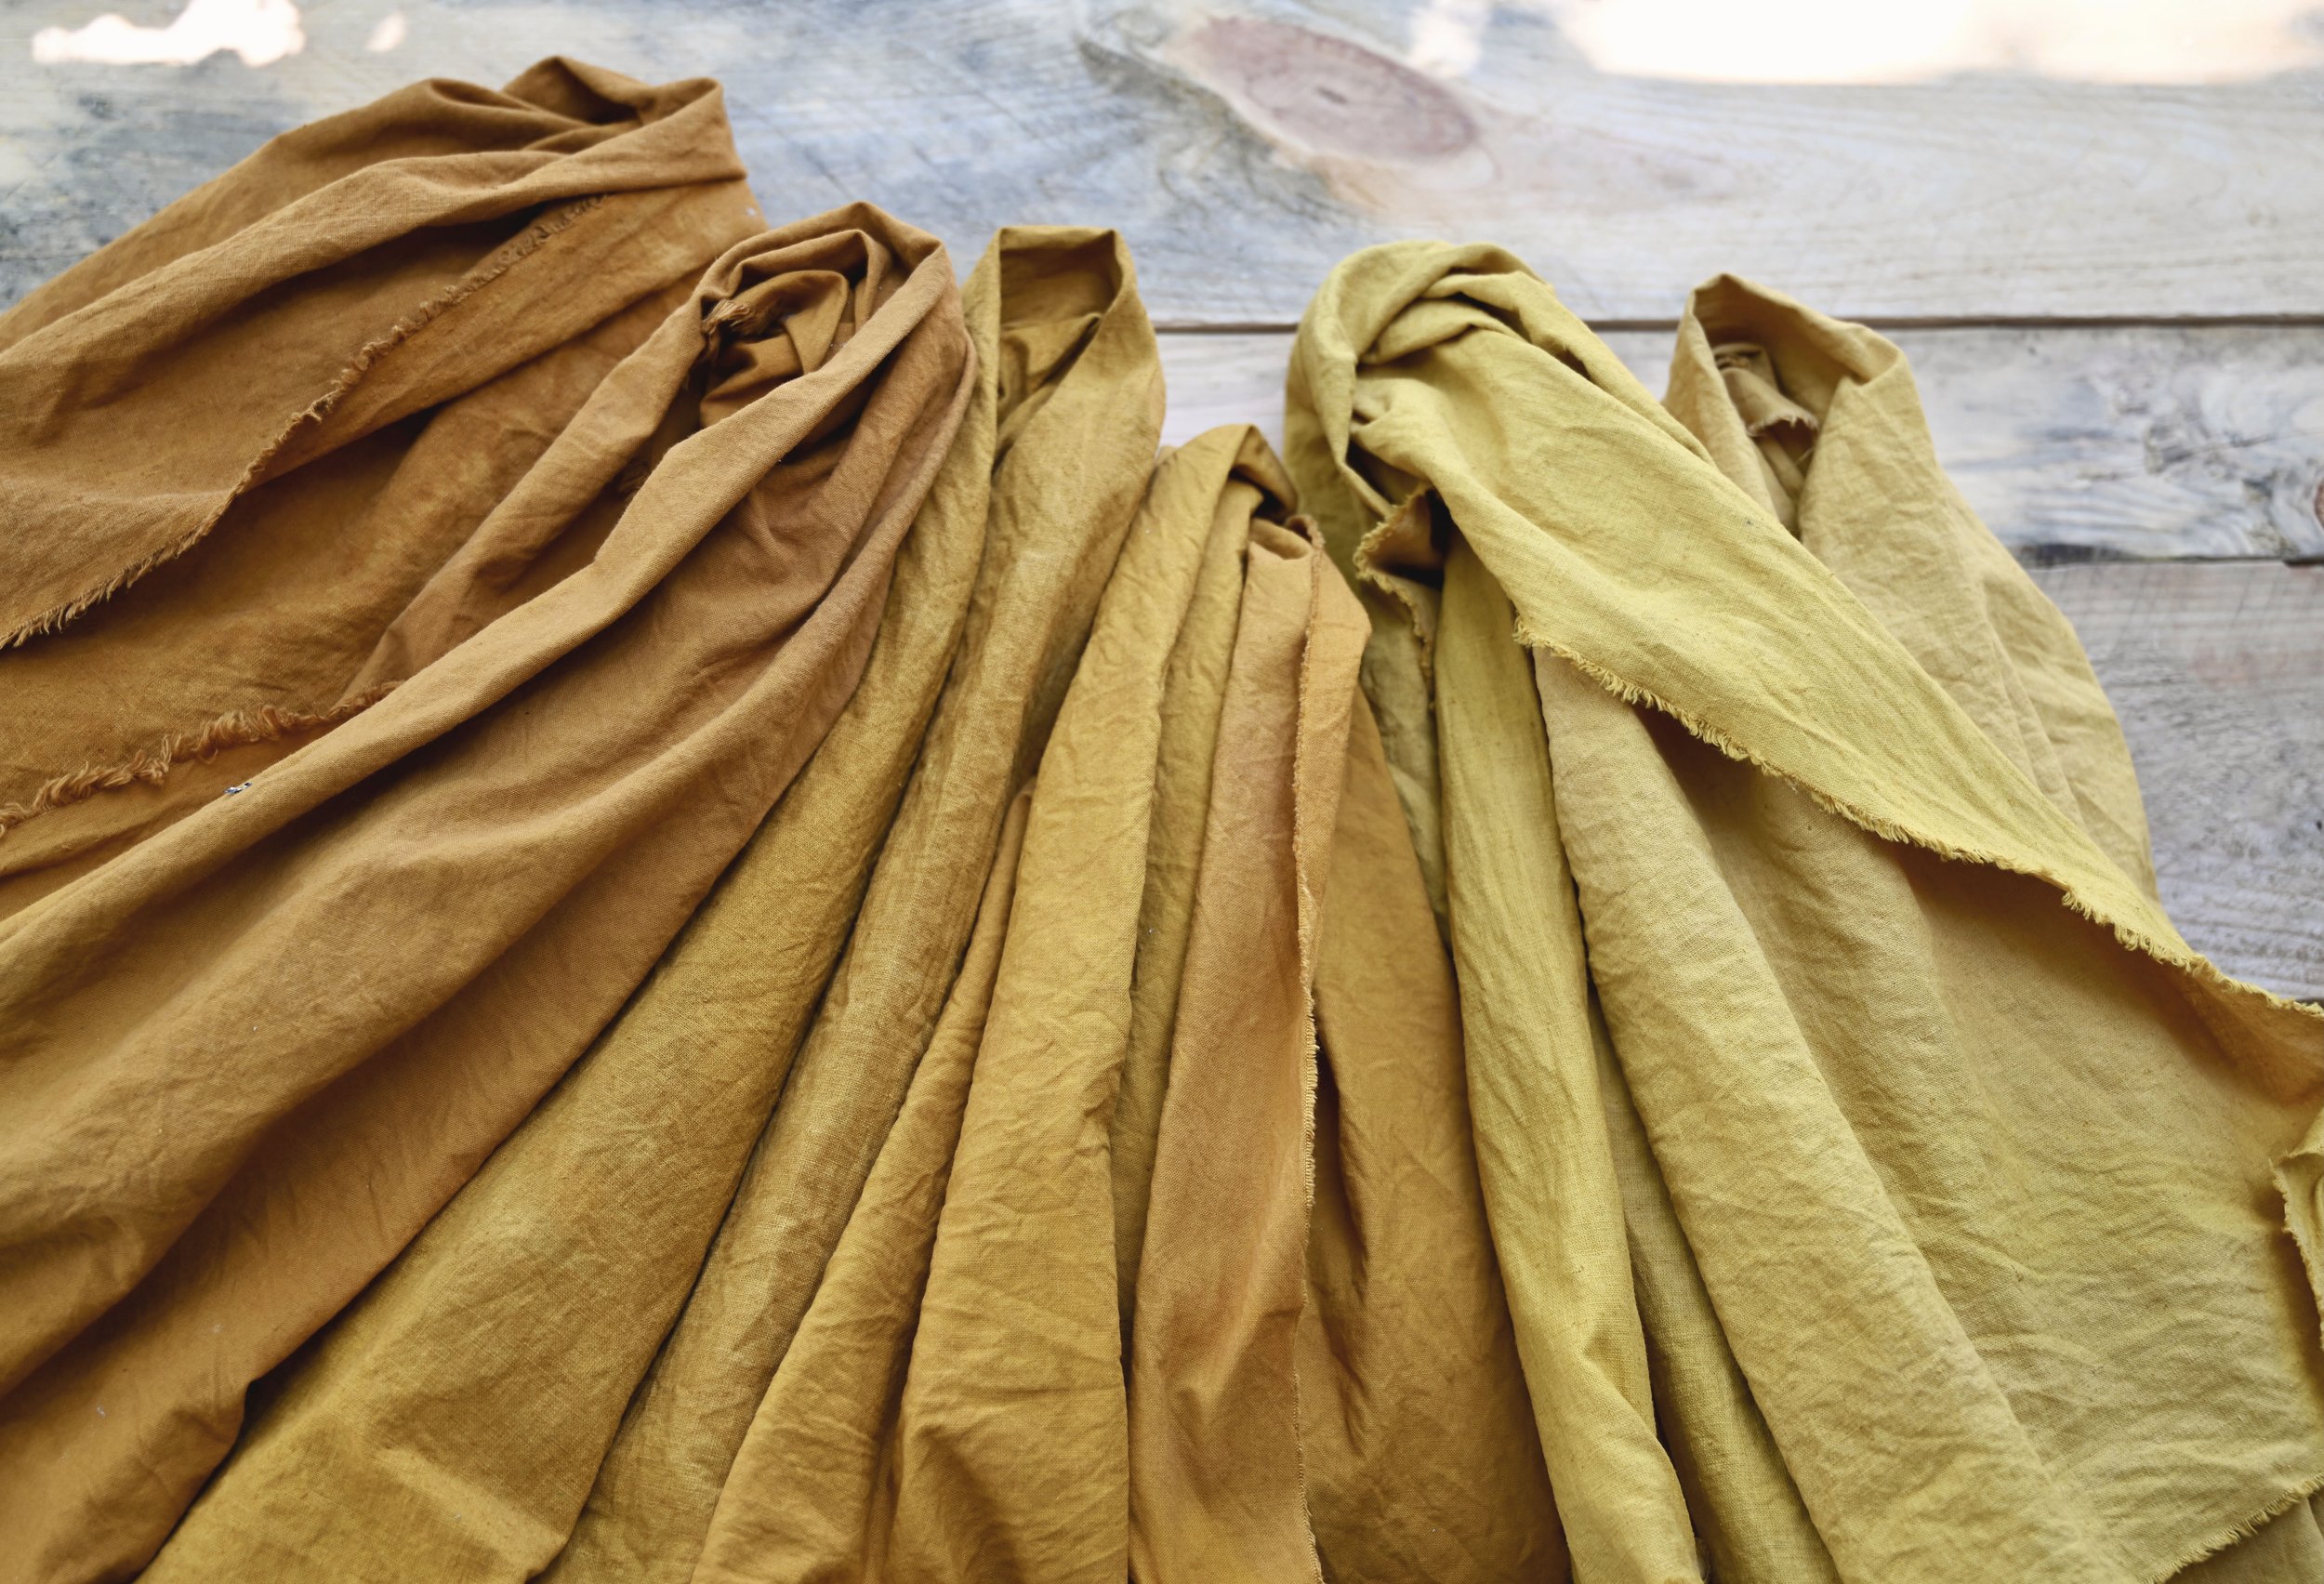
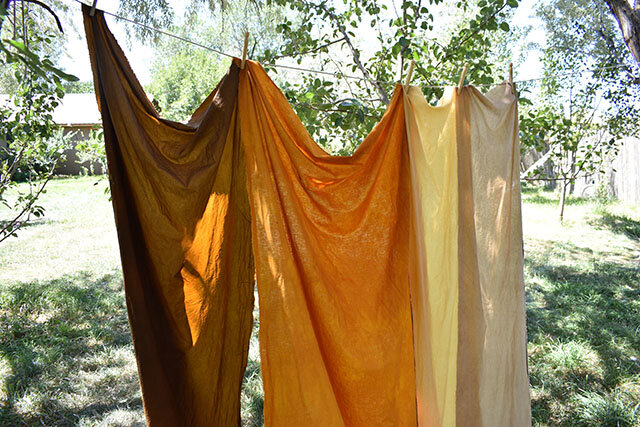
With each subsequent dip in the dye vat you will get a lighter shade until you have an ombré gradient of colors. It’s important to leave each piece of fabric in the dye pot holding at 180F for one hour to get a permanent dye bond. Some dyes are quicker to extinguish than others and some require specific temperatures. If you desire a lighter hue you may need to pour off some of the dye bath (reserve it) and dilute the bath with water for that lighter shade. For this tutorial I dyed the first two lengths nearly equal saturations and then did the next length much lighter in a very diluted dye bath. Then I added 2% WOF iron to the 140F diluted dye bath to create the khaki color.
I decided I wanted to also modify that first length on the left as well. I added 2%WOF iron to that same diluted dye bath to achieve that shade.
The first and most saturated length of onion dyed fabric now modified with iron (on left).
A modified ombre of colors all out of the same dye pot. These colors will harmonize beautifully together in a quilt.
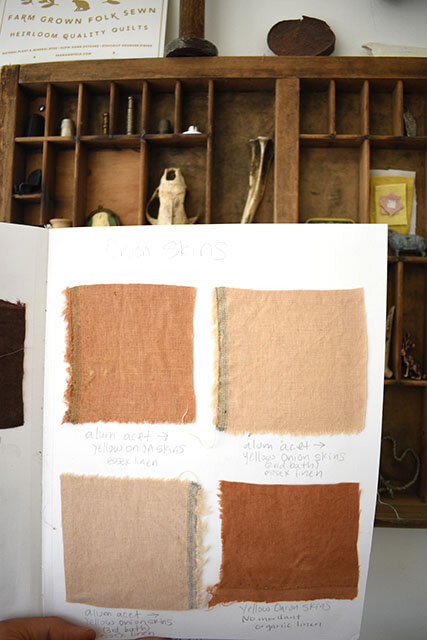
There are many books you can collect if you become passionate about natural dyeing. The first one I bought nearly 20 years ago which is still one of my favorites is Wild Colour by Jenny Dean. My most valuable dye book is my personal journal that I keep with color swatches. I highly recommend keeping one. The best advice I can offer is to take your time and be thorough in all the steps to achieve colors that will last.
A page from my dye journal. These are swatches of onion skin dyes I did a couple years ago. They’re a bit different than what I achieved today!
If you have any questions please ask them here in the comment section and I’ll do my best to answer. Enjoy the process! Tag me on Instagram if you post your projects so I can see what you create.

