
Quarter Square Triangle Tutorial
As I explained previously in my post How to Make a Quilt Block and HST’s from Scratch, quilt blocks are often composed of simple shapes and these simple shapes can be arranged in all sorts of different ways to create different block designs. In that tutorial I shared my go-to method of making one of the most common shapes found within quilt blocks, the half square triangle or HST. In today’s tutorial I will show you how to make another common quilt block shape, the quarter square triangle. Please note that I shared these tutorials and many more in my book Farm & Folk Quilt Alchemy. It’s super handy to have the book version so you can open right to them without having to search the internet : )

Quarter square triangles are also known as the hour glass block. Sometimes I make quilts exclusively with hour glass blocks. Below on the left is a quilt I made called Furrow Quilt. Although many of the shapes appear to be diamonds (because of the way I placed the colors), they are actually all QSTs. I love the way you can make the colors melt into each other like a watercolor painting with a quilt design composed exclusively of QST blocks. In the middle is another quilt I made exclusively from QST’s called Tiny Quilt No:3. Creating subtle variations in hues when naturally dyeing fabrics and using them in your QST’s is yet another way to achieve a watercolor effect. On the right is a quilt I made from repurposed woolen wear called Sailing Hawks. Many of the QST’s are easy to detect in this design but the plaid and more subtle woolen pieces give the quilt that melty watercolor feeling as well.

Quarter square triangles can also be used to make star blocks such as the traditional quilt block Variable Star shown below.

I’m pleased to tell you that QST’s are super easy to make! In this tutorial I will explain not only how to make them, but how to make them in any custom size you want. We begin by cutting squares. To determine what size these starter squares are cut we use a very simple formula. Keep in mind that each pair of contrasting colored squares we cut will make a pair of QST’s.
QST FORMULA
finished QST size + 1.5 inch
The finished size of the QST’s in my example are 4”. Using the formula above: my finished size of 4” + 1.5” = 5.5”. This means that my starter squares are cut to 5.5”.
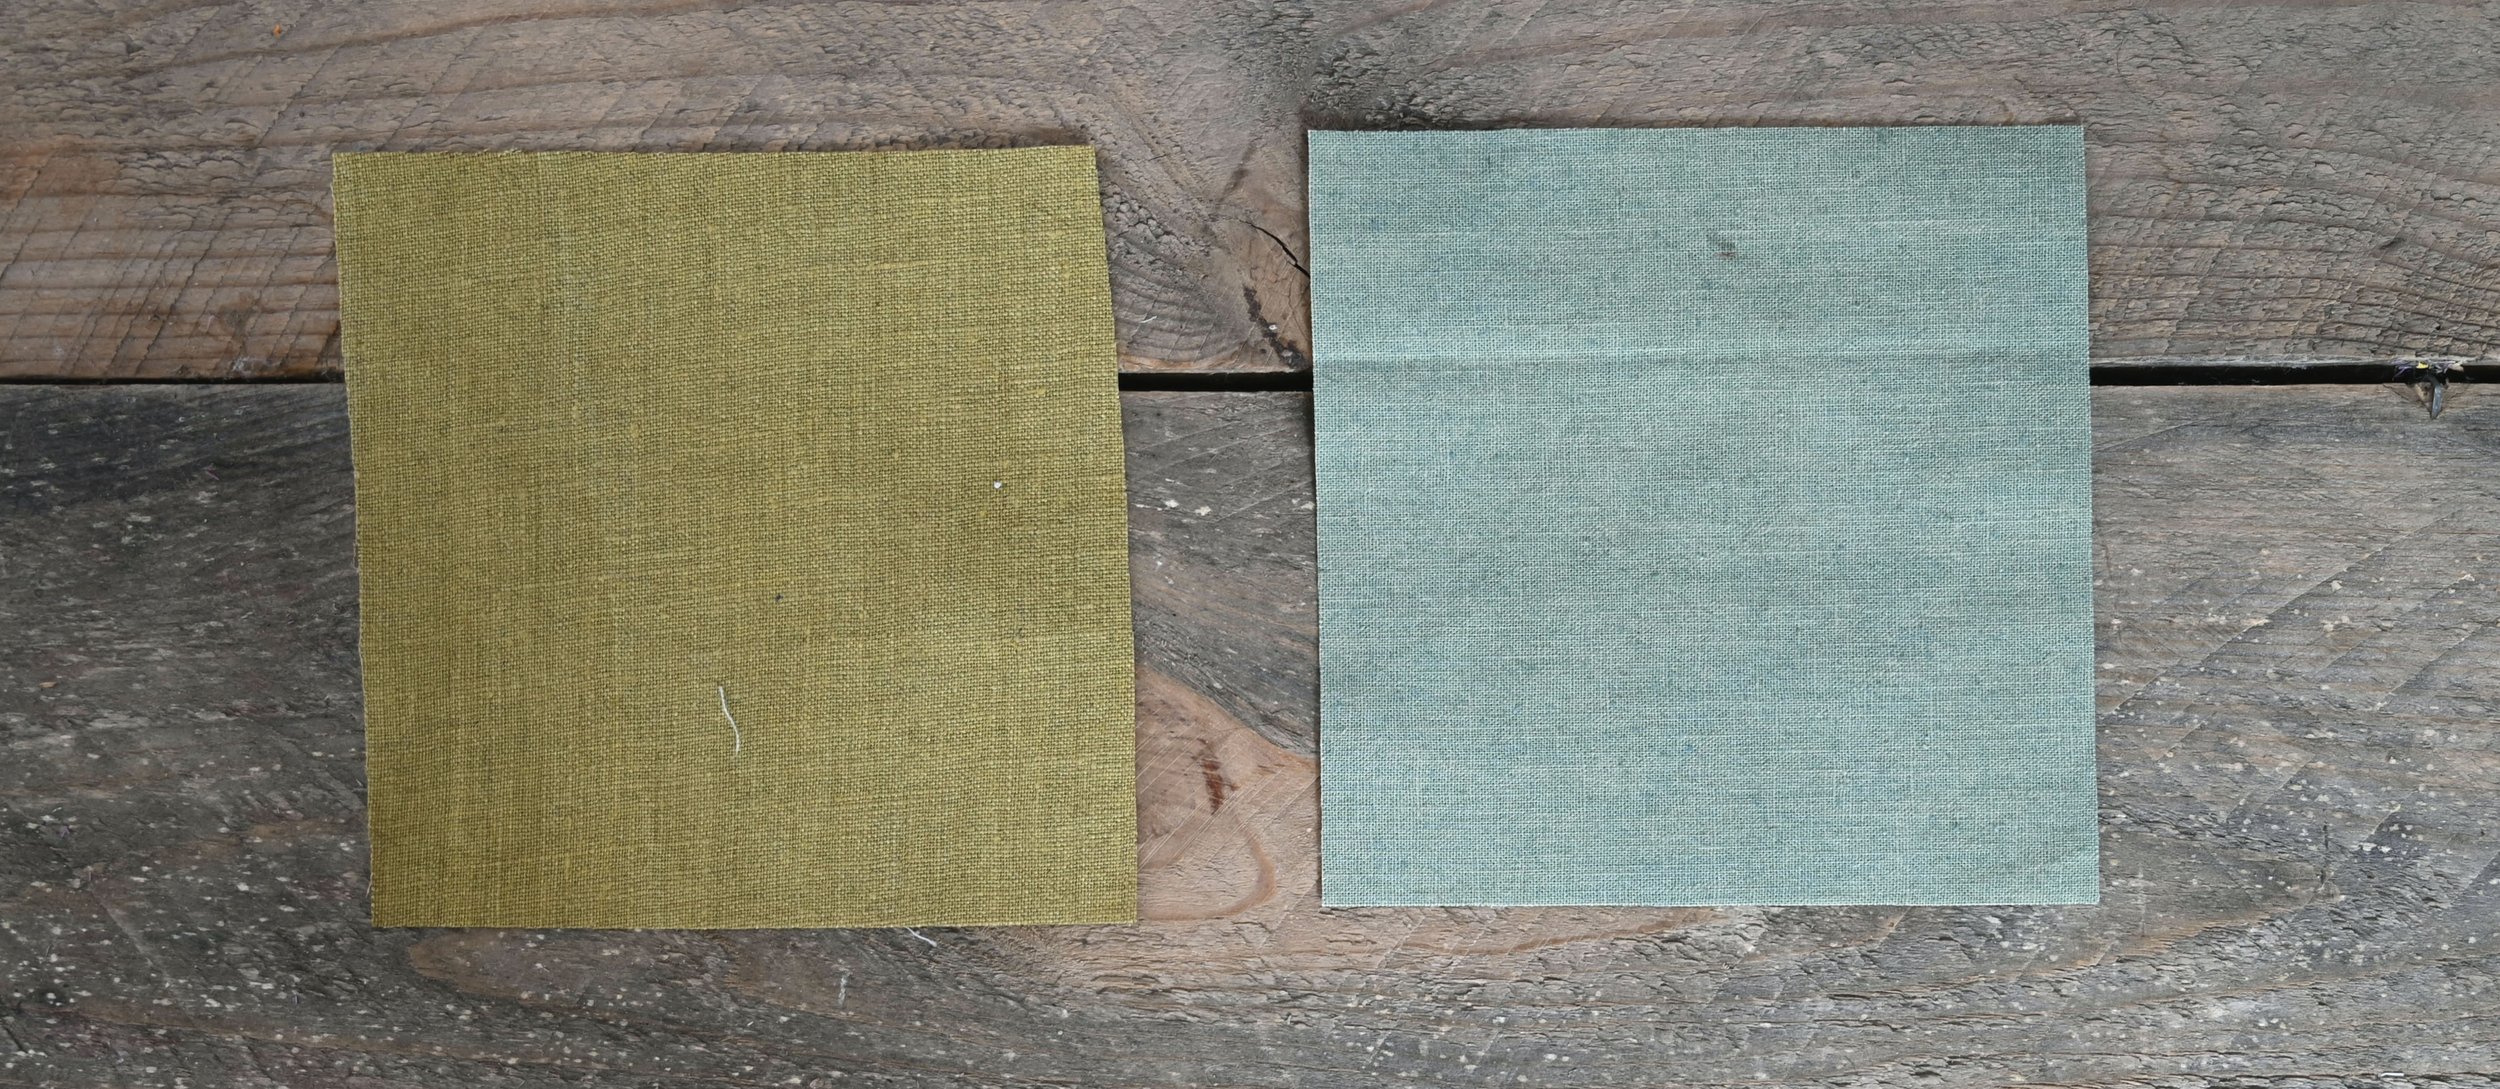
1) Cut two squares in contrasting colors.
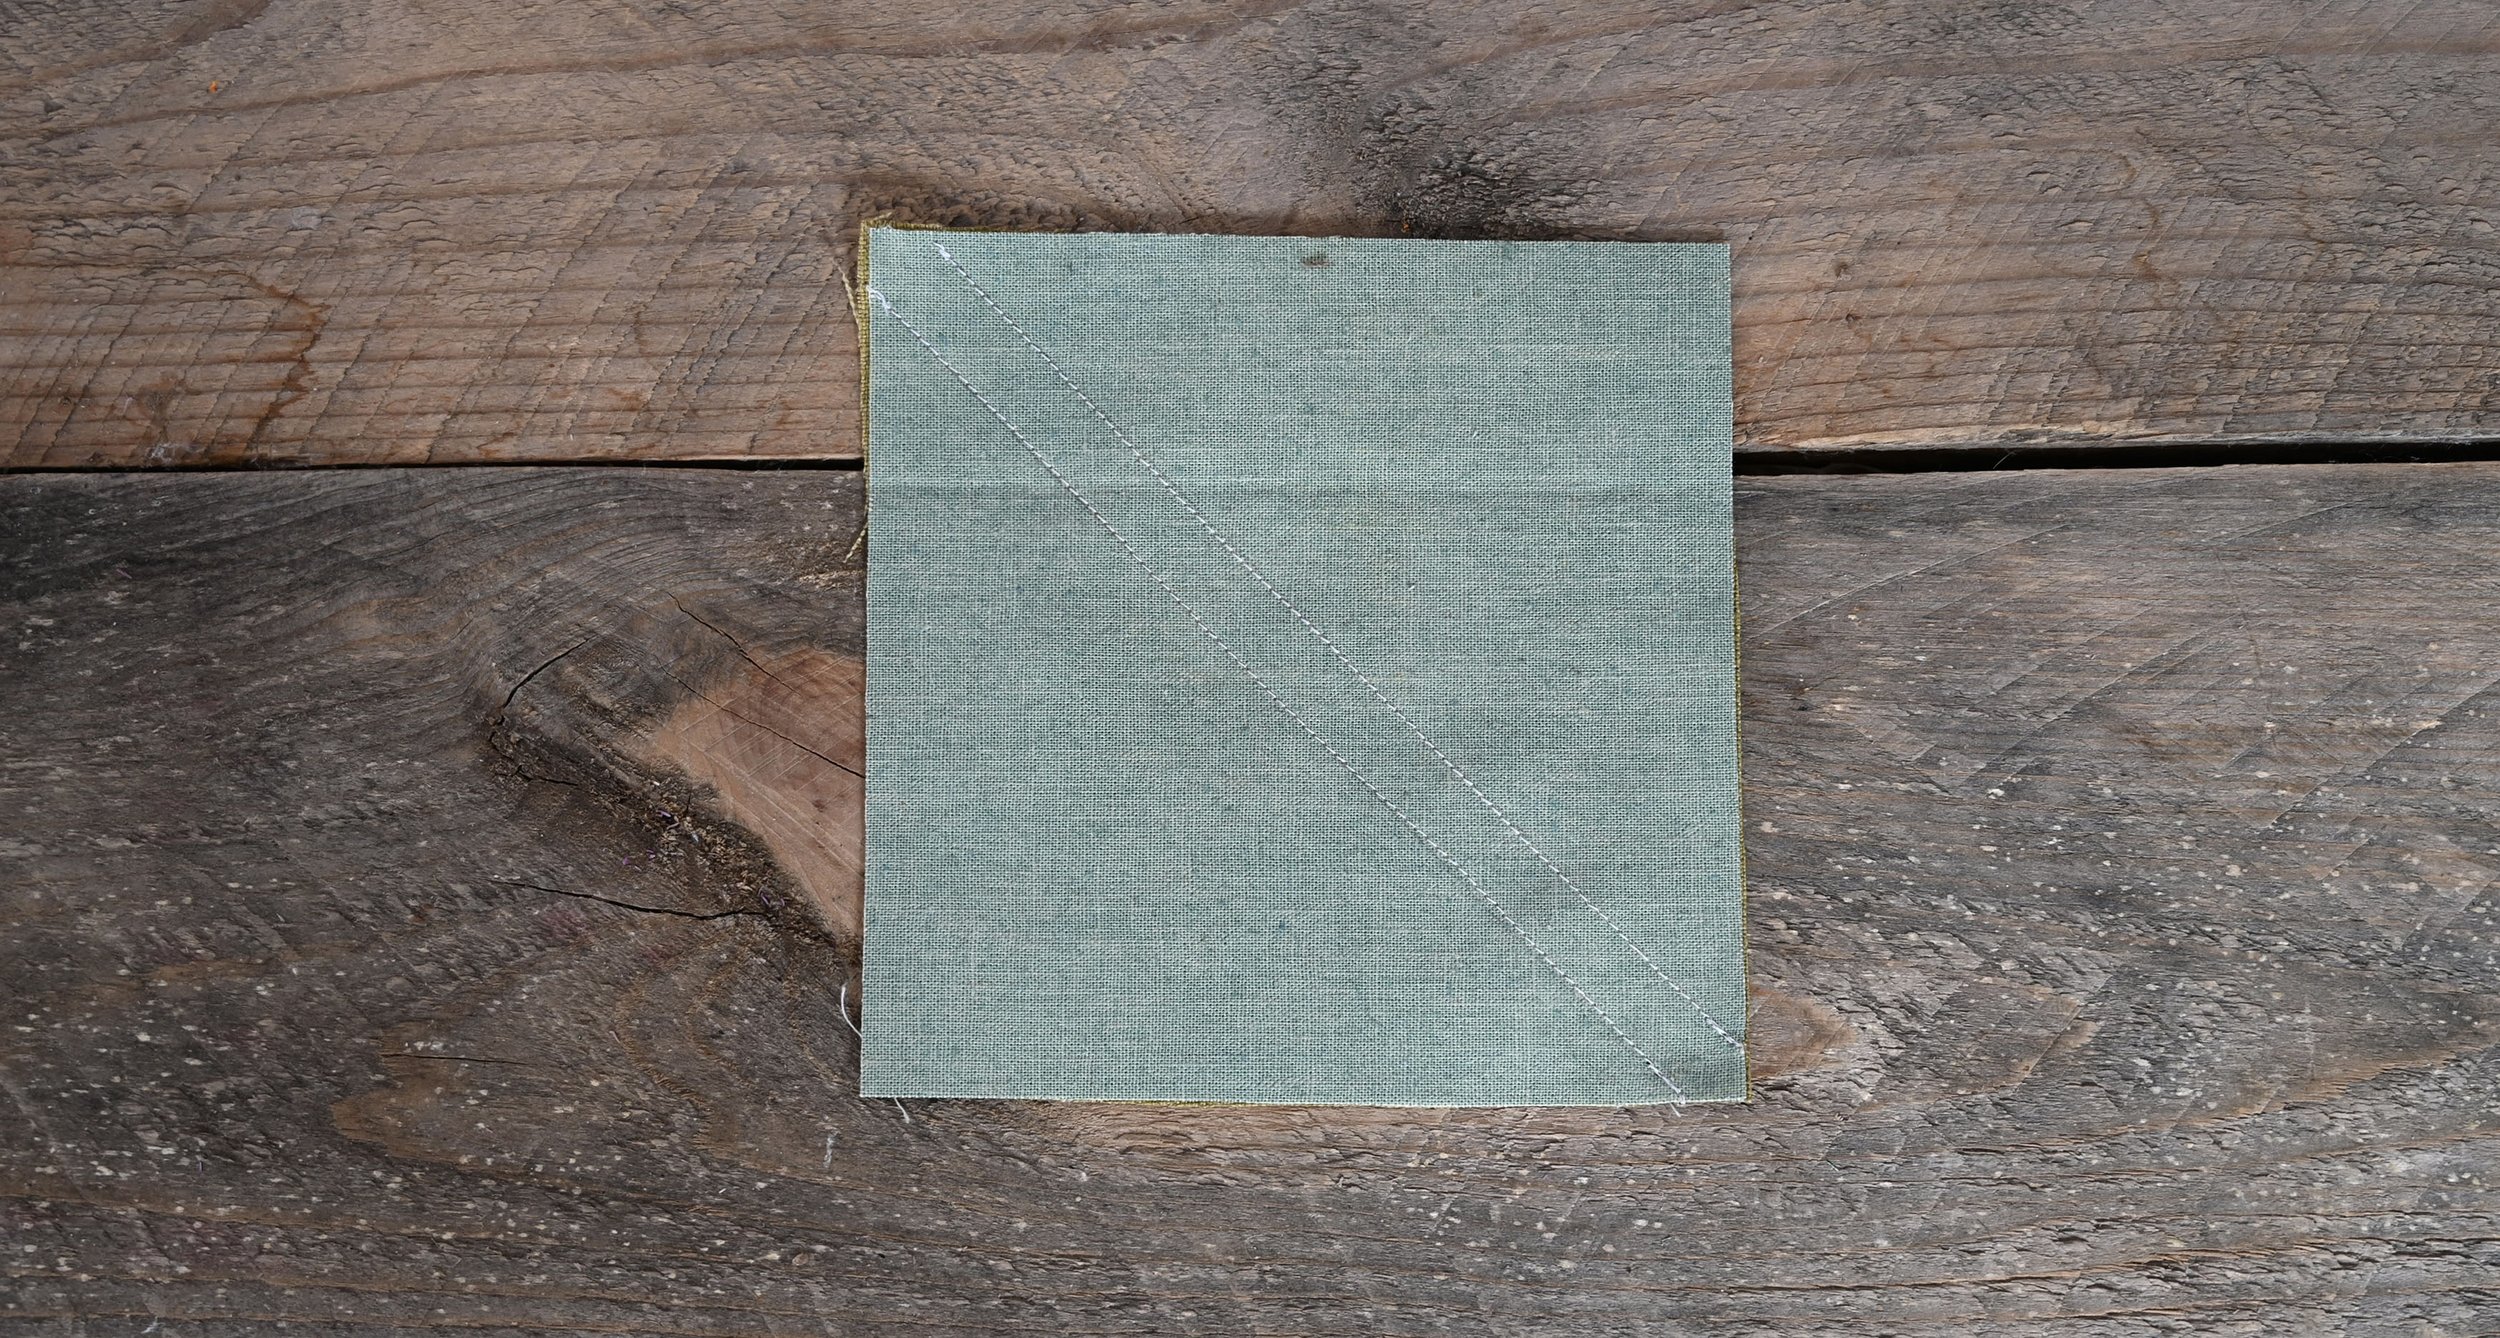
2) Place the squares on top of each other matching all corners. Center the yellow line of a 1/4” seam ruler on opposite diagonal corners and use a mechanical pencil (or a very sharp pencil) to mark a line on both sides of the ruler.

3) Sew along both of the pencil lines.
4) Cut between the two sewn lines. We have a pair of HST’s!

5) Press the seams open or to the side if you prefer.

6) With the right sides facing place one HST on top of the other with their diagonal seams aligned and with their colors opposing.

7) Use a 1/4” seam marker and a mechanical pencil as shown in step 2 and mark lines on both sides of the ruler.

8) Sew along both pencil lines.

9) Cut between the two sewn lines. We have a pair of QST’s!

10) Open out the QST’s and press the seams open or to the side if you prefer.

So many steps I know! Don’t be discouraged. The process is actually super fast and easy once you get it down. Once all the QST’s are made they must be trimmed down to their unfinished size. If you don’t trim them they will be too big and too wonky so this step is important. If I’m making a whole lot of QST’s I trim them by the stack as a final step rather than as I make each pair. This greatly speeds things up.
Trim
1) Place the 45° line of a square quilters ruler (the ruler must be the size of your QST or larger) directly over one of the diagonal seams of the QST. Trim off a small amount from the top and right edges.

2) Rotate the QST 180° and again center the diagonal line of the quilter’s ruler over the (same) seam line of the QST. Trim the remaining two sides of the QST to the unfinished size which is 4.5” in my example. When trimming QST’s it’s important to trim about the same amounts from all edges or the triangles may be uneven.

Below is a photo of a 4-patch QST block I made. I might make a bunch more and sew them together to make a quilt top or I might put some spacer blocks between them. So many possibilities!

3 COLOR QST’s!
Sometimes you will need to make quarter square triangles with 3 colors like you see in this Variable Star block example below.

To do this cut your starter squares using the QST formula to make pairs of HST’s in the colors you need following steps 1-5 above. My example required a pair of tan and sage squares, and a pair of sage and white squares.

Pair them together with colors opposing as shown below.

Finish by following steps 7-10 above, and be sure to trim them. After pressing them open they look like this:

If you have any questions please ask in the comments below and I’ll do my best to answer promptly. Now that I’ve shared the basics in my HST tutorial and this QST tutorial we can move along to the fun part and make some quilt blocks with these foundational shapes.
Until next time!