
Diamond in the Square Quilt Block Tutorial
This versatile traditional block is also commonly referred to as Square in a Square amongst various other names. It can be used as a standalone quilt block but is perhaps more commonly used as a shape within a quilt block. It can be a finicky one to piece but I’ve had great success making precise blocks with the method I’m sharing in this tutorial. The example block for the tutorial is 3” finished but there’s a formula to make any custom size you need. The formula isn’t as simple and straight forward as the HST and QST formulas are, but it’s simple enough so don’t be discouraged.


This method of making a Diamond in the Square block begins with 3 squares: One slightly larger square for the center (the diamond), and two slightly smaller squares which are cut diagonally in half to become the four outer triangles.
Diamond in the Square Formula
When a square is turned on point to become a diamond, the measurement from the top point to the bottom point is larger than when a square is measured from side to side. This is slightly confusing. If for example you know you want a 3” finished quilt block, what size square do you cut for your diamond? And what about seam allowance compensation? Lucky for us there’s a handy math formula!
Center square formula:
finished block size ÷ 1.414 = X + 1/2” = the size to cut the center square
Using my 3” finished block as an example:
3” ÷ 1.414 = 2.122 + 1/2” = 2.622” which is approximately 2 5/8”
My center square is cut to 2 5/8”
Outer triangle formula :
finished block size ÷ 2 = X + 1” = the size to cut the 2 outer triangle squares
Using my 3” finished block as an example:
3” ÷ 2 = 1.5” + 1” = 2.5
My 2 outer triangle squares are cut to 2.5” and then cut from diagonal corner to corner as shown below.

Now that the squares are cut and cross cut they are ready to become a Diamond in the Square block.
Assemble the Block

1) Fold the center square in half and press it to form a crease, then fold it in half again the other way to create an intersecting crease as shown above. Fold the outer triangles in half and press them to form creases exactly down their centers as shown.

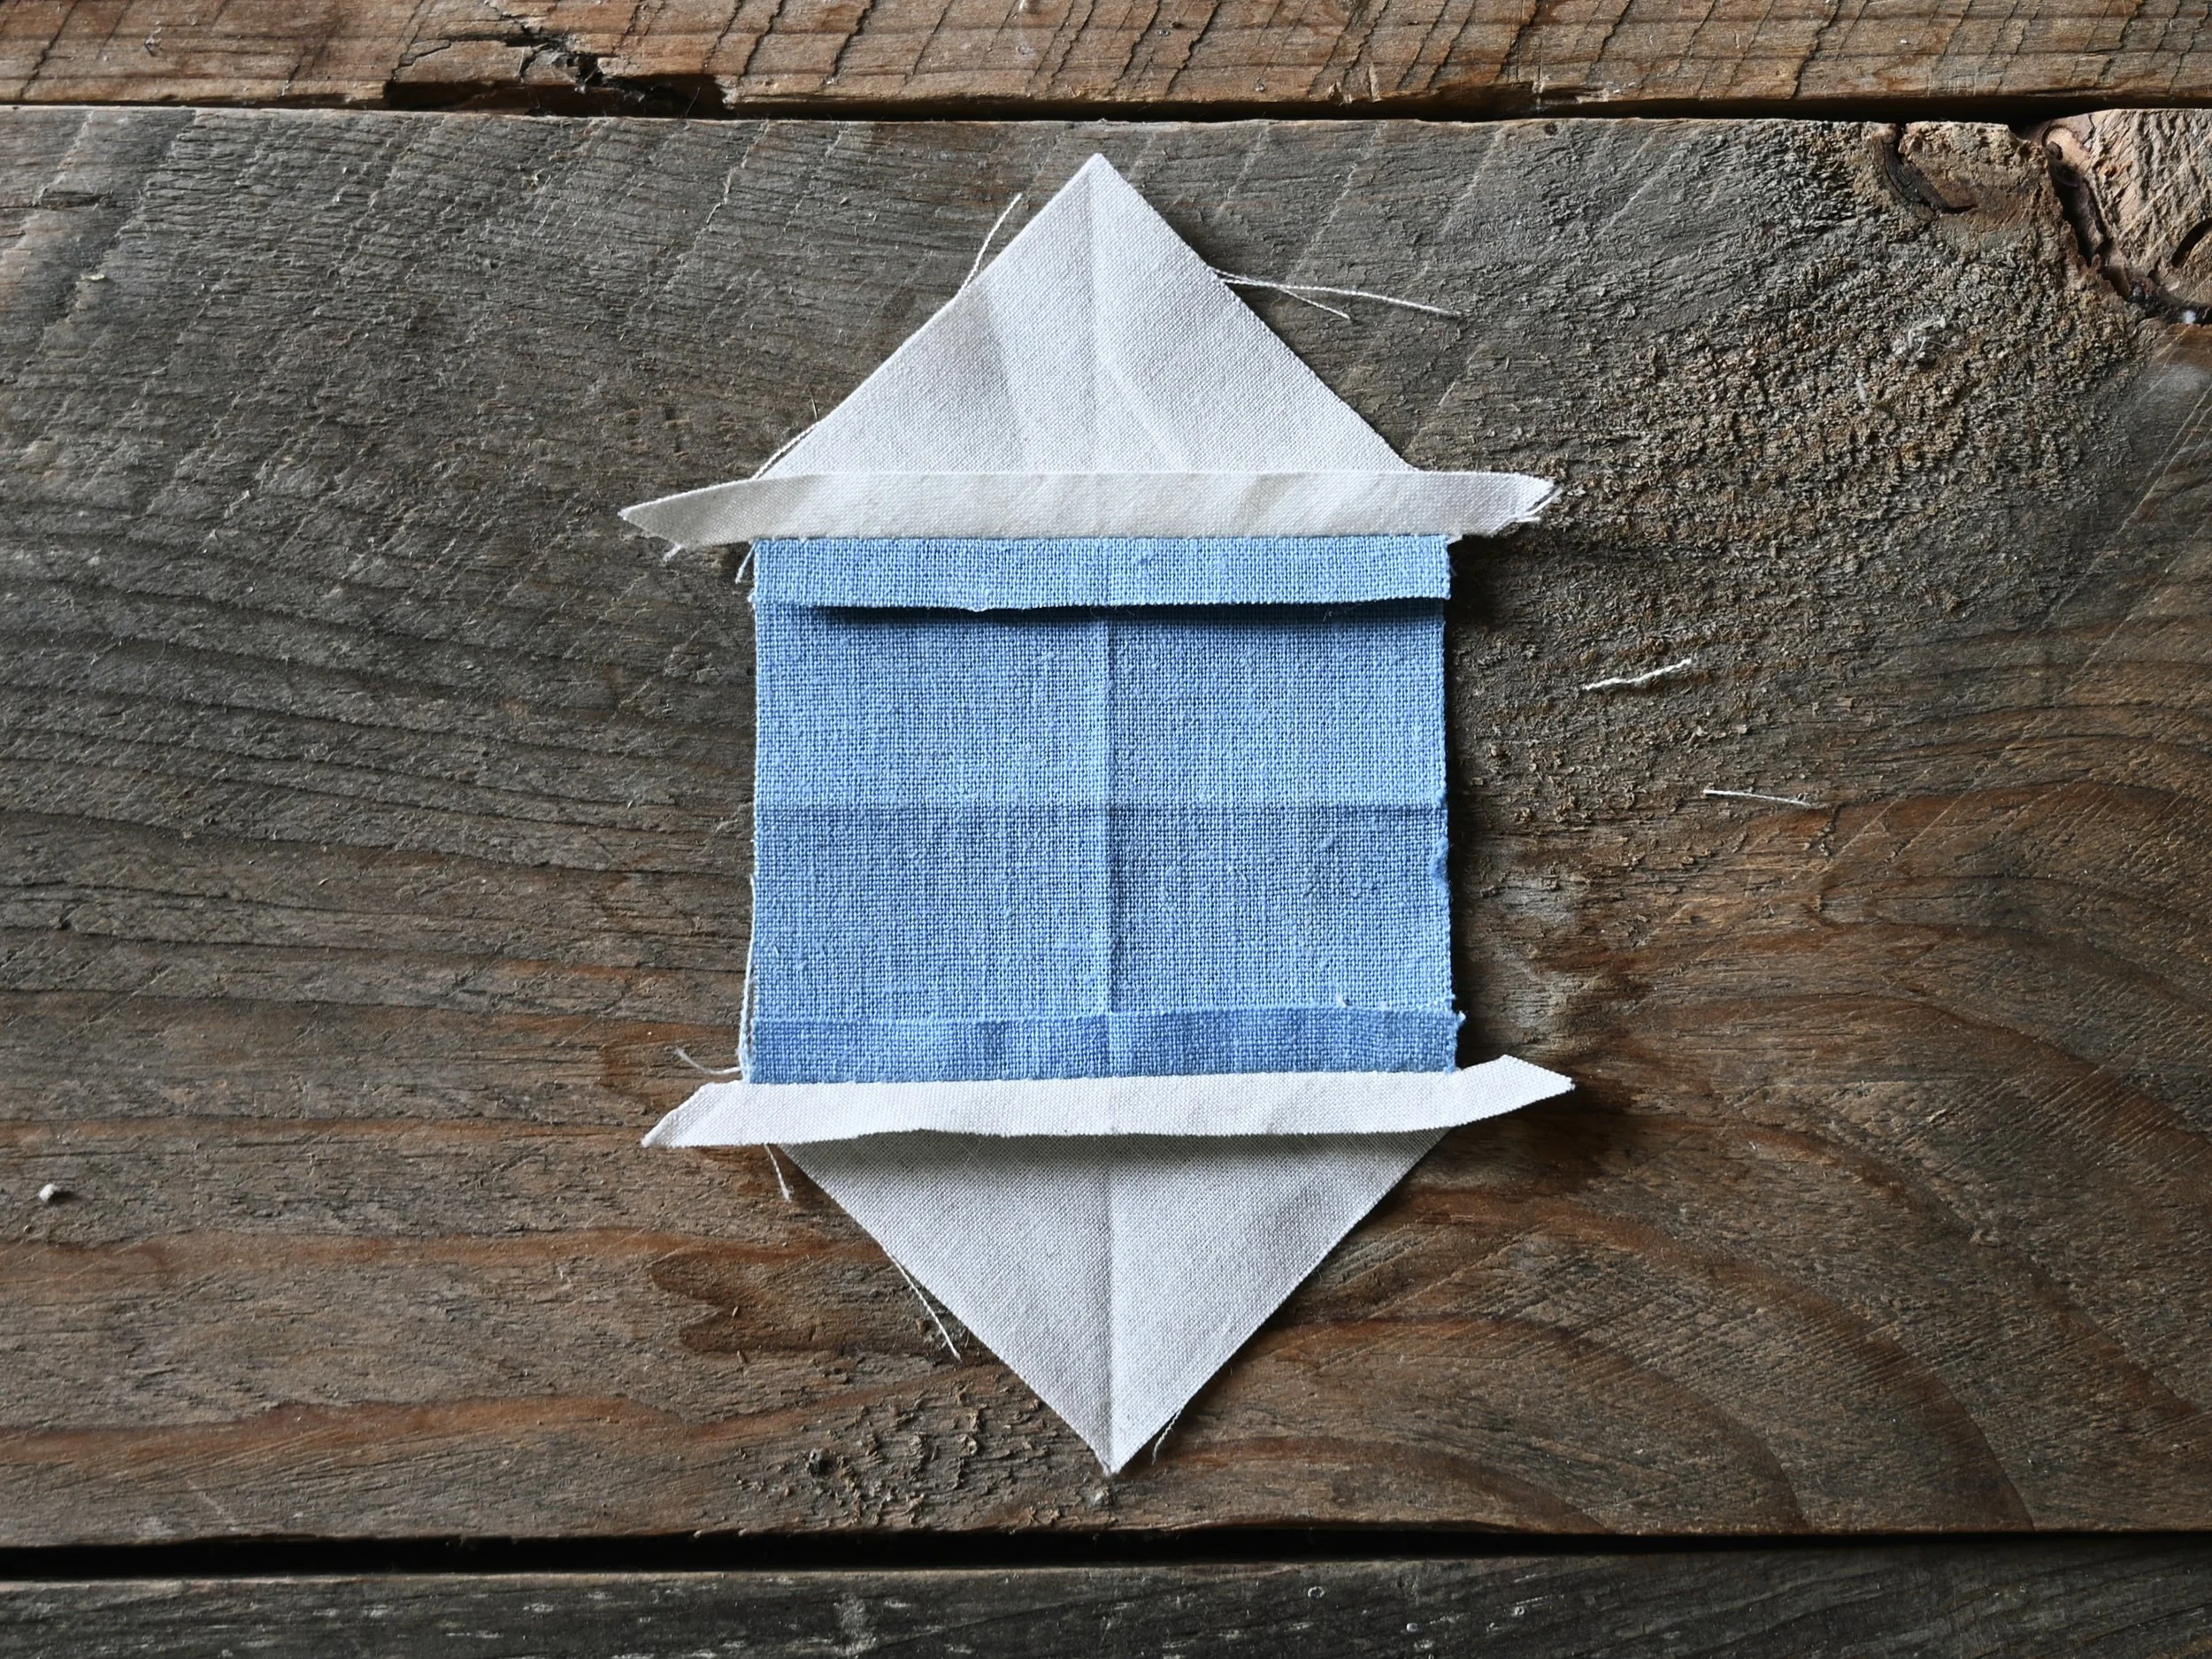
2) Nest an outer triangle’s crease into the crease of the center square as shown and sew them together using a precise 1/4” seam allowance.

3) Repeat step 2 to nest and sew the next outer triangle as shown.
4) Press the seams open.
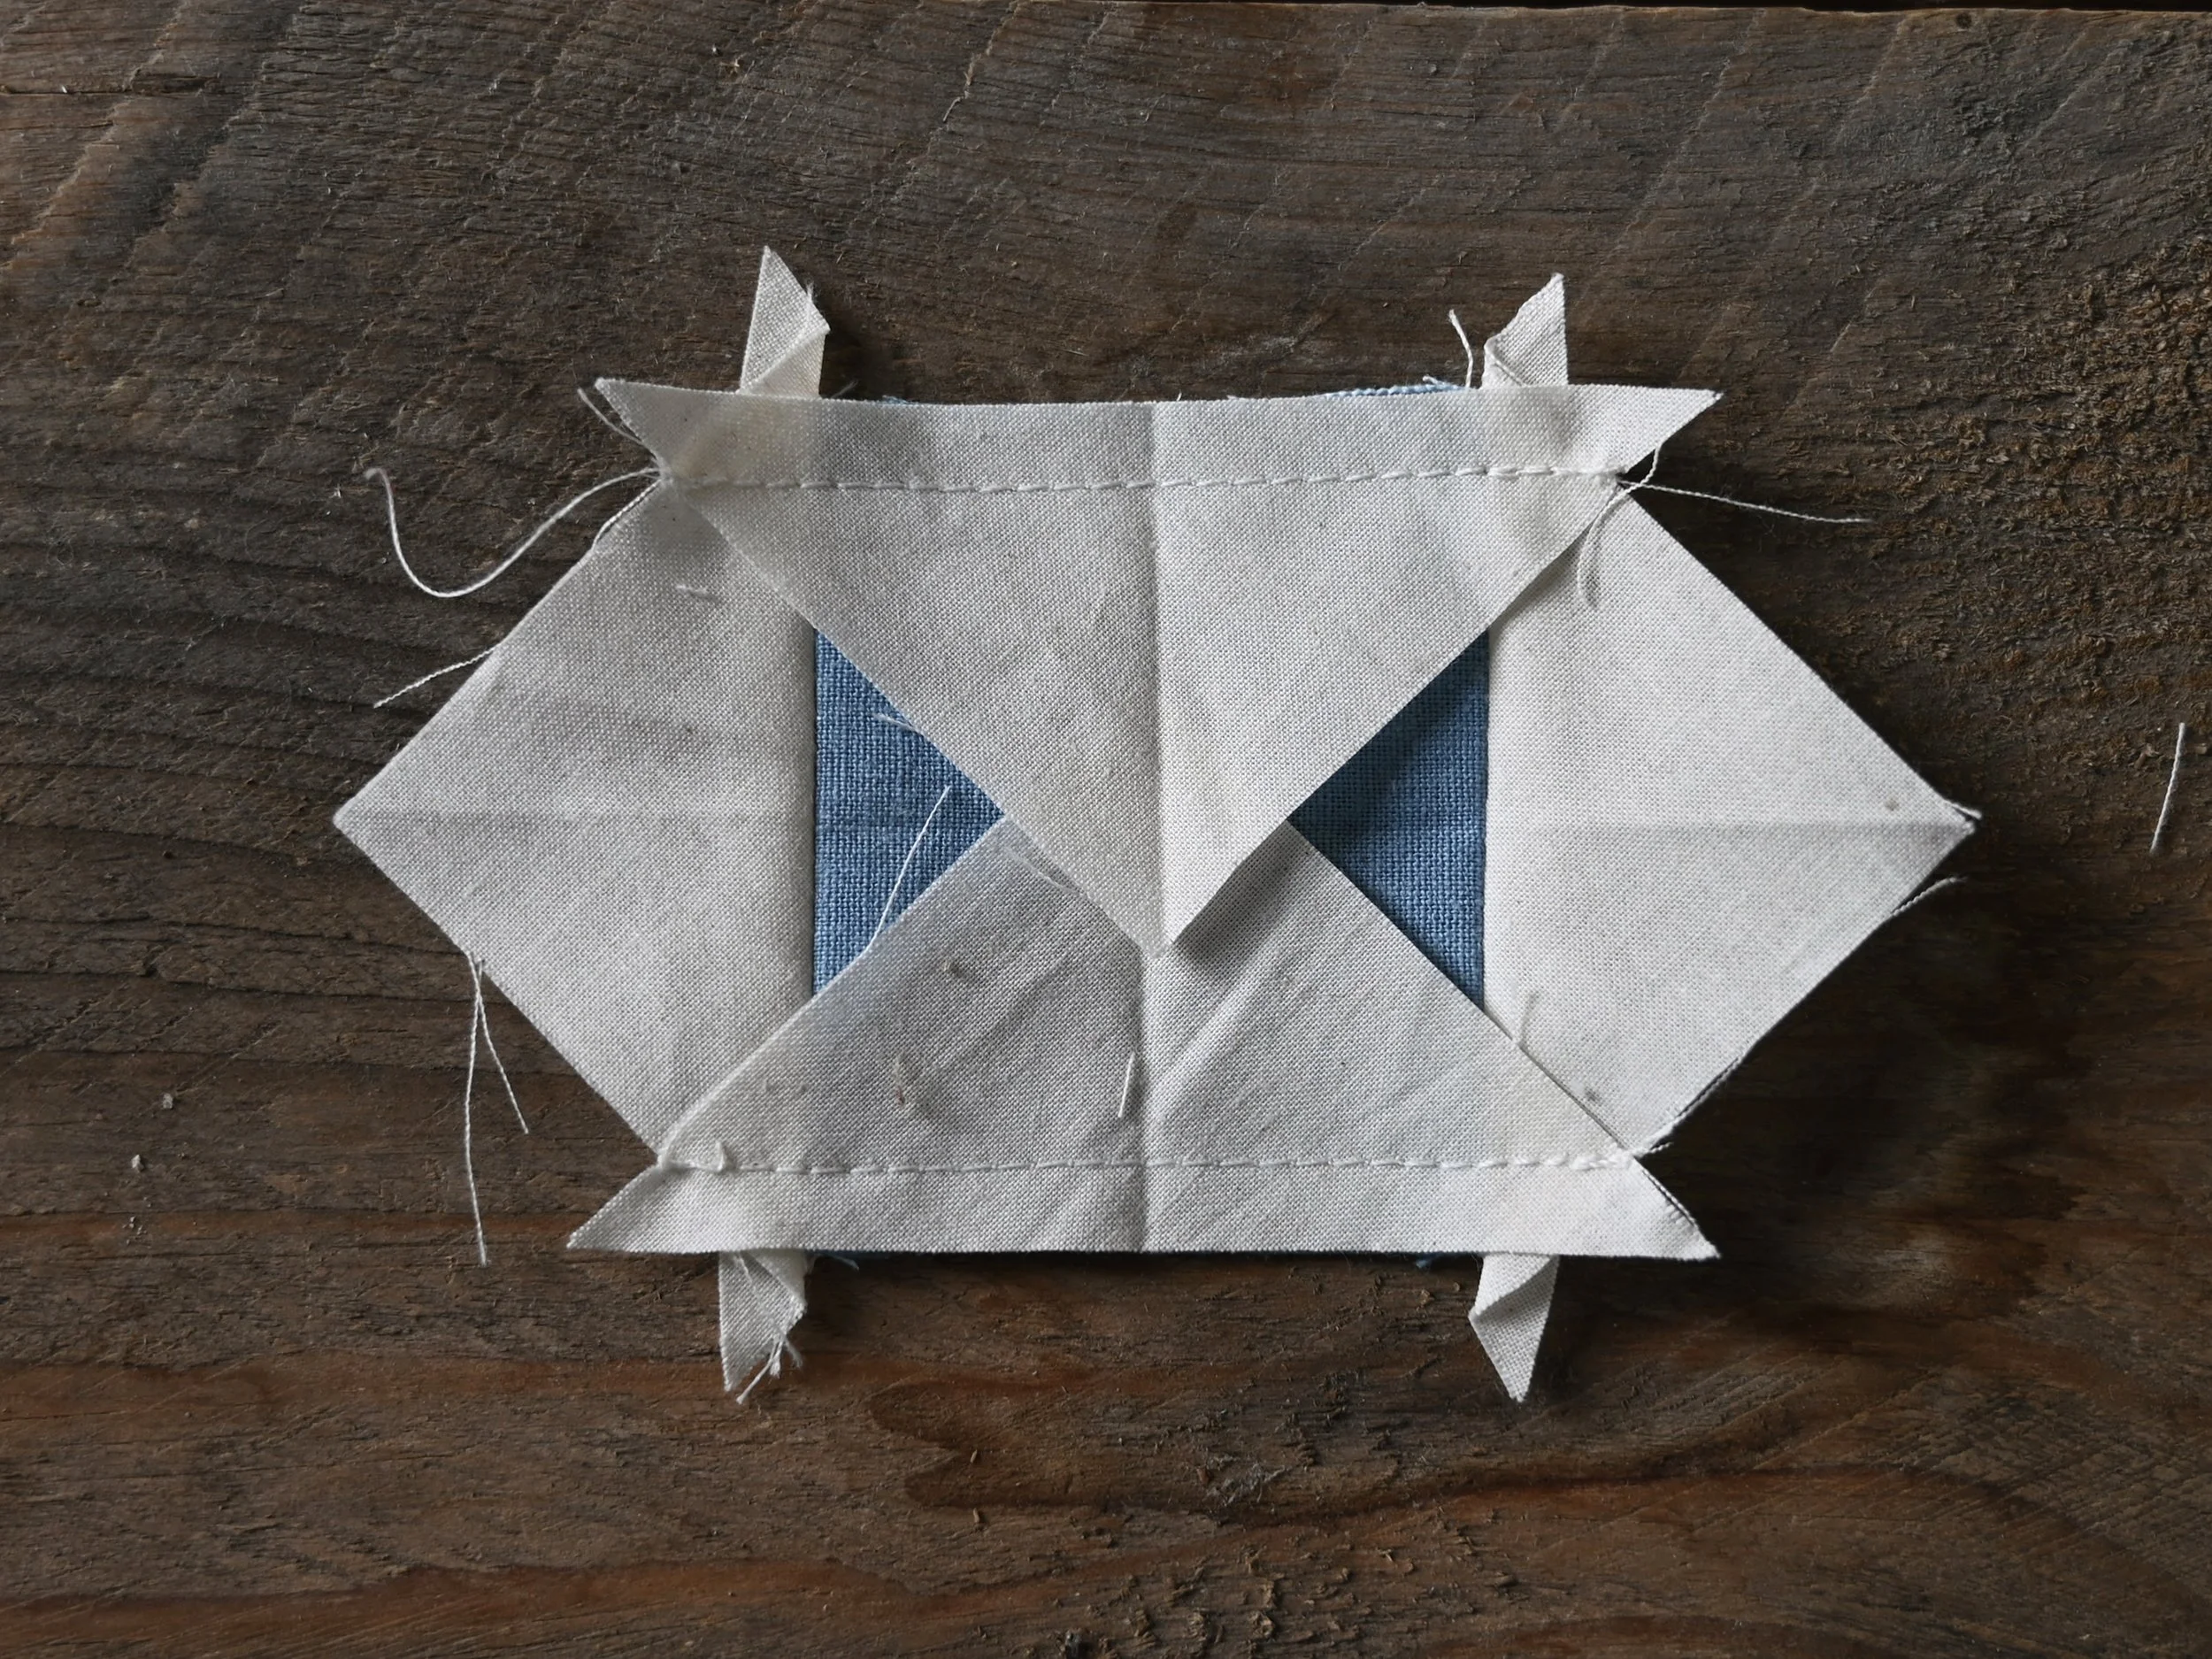
5) Sew the last 2 outer triangles as shown above matching and nesting their creases. For the best accuracy be sure to sew your 1/4” seam exactly into the valleys at the beginning and ends as shown in the zoomed in photo below.


6) Press the seams open.

Almost finished! The block must be trimmed now.

7) Trim a scant bit from the edges being sure to leave 1/4” above all the diamond tips. My 3” finished block example is trimmed to its unfinished size of 3.5”.

And there we have a very precise Diamond in a Square! If your block ends up being a little wonky I would suggest cutting your outer triangle squares a tiny bit bigger next time around. The center square cannot be cut bigger or you’ll lose the sharp points but if you make the outer triangles a little bigger you’ll have more wiggle room when trimming. I always prefer a little wiggle room!